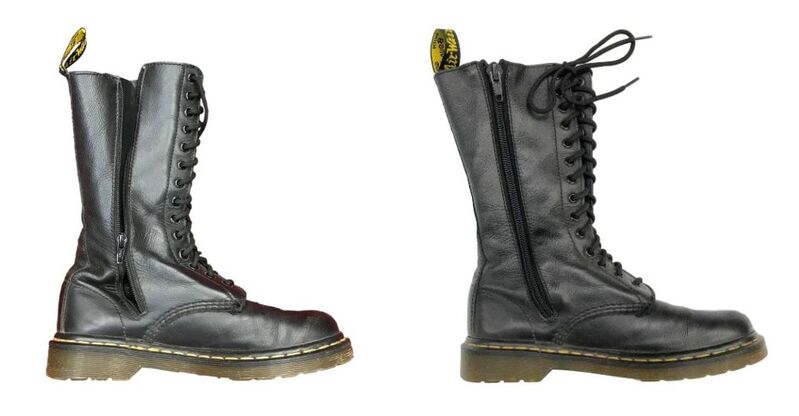
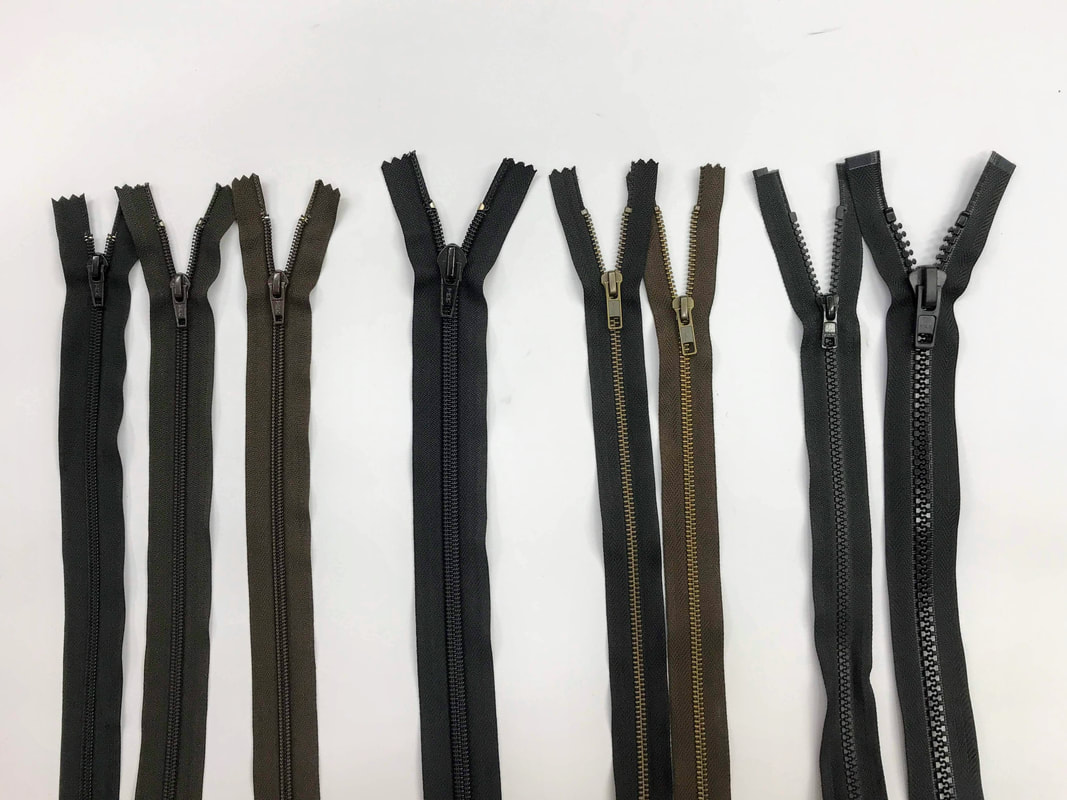
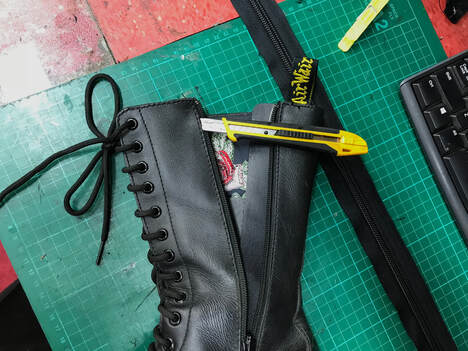
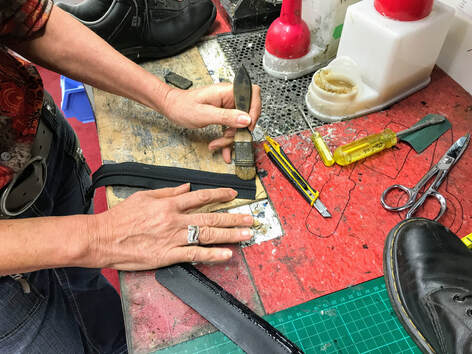
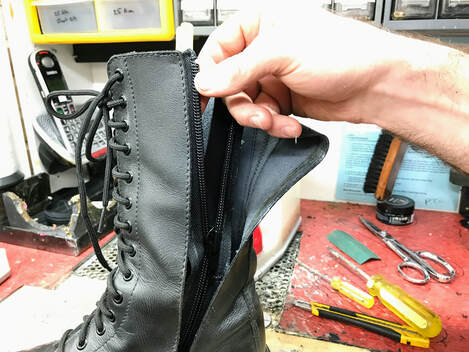
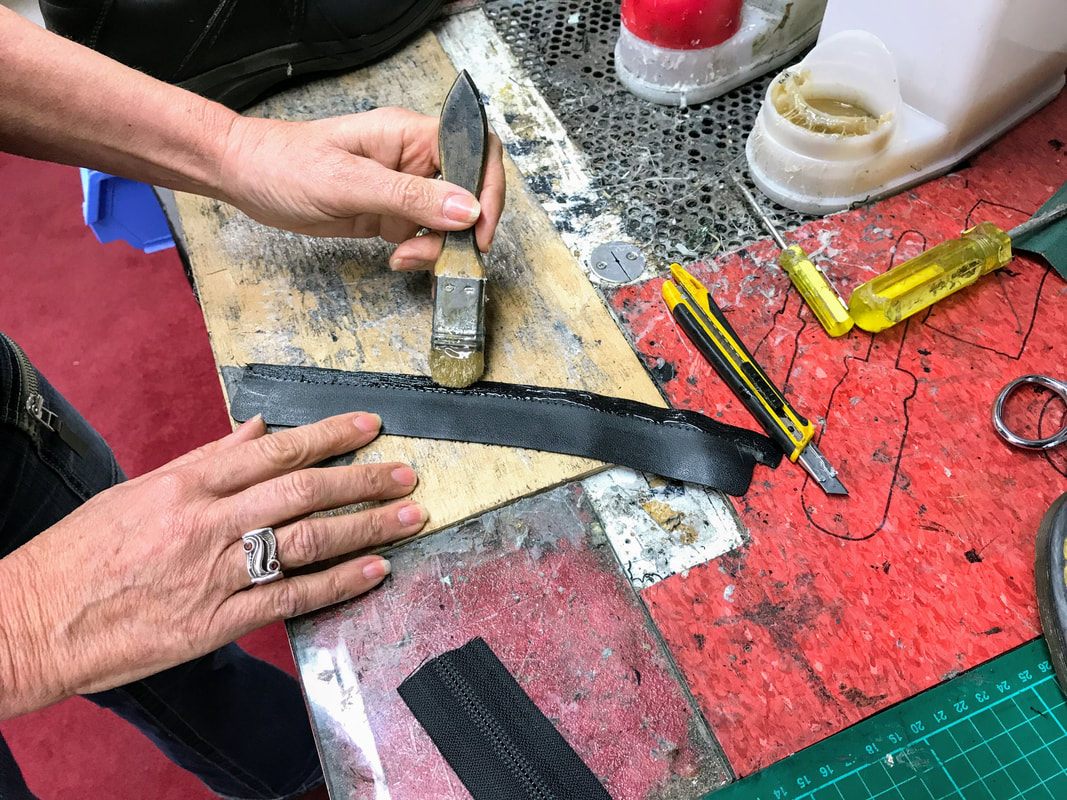
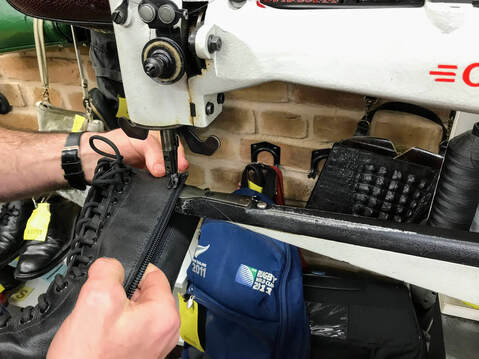
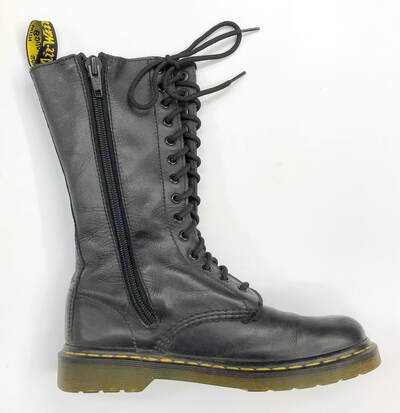
Yes sure we can replace your zip ... you've been into our shop before ...
Let me just check that we have got a suitable replacement ...
Main steps
|
Main steps explained
1. Select new Zip
If the customer needs another colour send them to Bernina or Spotlight to buy one that they like. Needs to be Sz5 or bigger with locking slider.
Ideally use a ready made zip. Locking slider otherwise zip jiggles down.
If you have to do it yourself – make the entire zip up before going any further.
5 coil/9 coil– use ykk top stops, easy option!
Otherwise unpick 15mm of the thread that holds the teeth to the tape and then cut the teeth off
Fold the tape over onto itself and then over again onto the teeth by 4mm.
Glue it in this position with yellow and then stitch it
3. Glue new zip then boot
Put a thick coat of yellow glue onto the front of the zip. From the edge and in 8mm so none will show once it’s all together.
Glue the boot starting at the top left hand side of the boot. Leave the bottom 20mm unglued.
Reason for gluing in this order. You will be putting the zip in starting at top left. This gives the quickest way.
Keep the slider done up while gluing.
Glue the boot starting at the top left hand side of the boot. Leave the bottom 20mm unglued.
Reason for gluing in this order. You will be putting the zip in starting at top left. This gives the quickest way.
Keep the slider done up while gluing.
4. Assemble
Wait till tacky (3min) then start putting the zip in.
Glue left side in with zip still done up or down if you prefer. Then open it to assemble right side.
Start at the top left side and continue down to the bottom.
Keep everything straight and as it would be when the boot is being worn. Check to make sure the right side is OK for length
Put the right side in, starting at the top.
Width should be even all the way up.
Keep the boot as close to how it will be worn as you put the zip in, this will save all sorts of bother.
Ensure the zip tape is tucked in far enough at the bottom; otherwise it will bulge out when it is finished.
5. Glue lining
This boot had no lining. This is just the zip flap which really should get glued to the zip before the zip gets glued into the boot. Once the zip is in, glue the lining onto the zip. Do this by putting 1 coat onto both lining and zip then press together while holding the boot in it's natural curved shape. (If you can get away with 1 coat on zip side only, go for it.) Otherwise the lining may be too short and not get caught by the stitching.
6. Stitch
Start at the top left. Go down and around and back up the other side.Keep the slider down while stitching until you get close to it then with the foot up slide the slider past the foot about 5cm. Continue stitching down around the base of the zip, back up the side until you get near the slider again. With the foot up slide the slider back down and continue stitching.
If you need 2 rows start again from the top left. Watch out for the flap as you go around the bottom. Don’t want to stitch it on both
sides.
Keep the slider down while stitching until you get close to it then with the foot up slide the slider past the foot about 5cm. Continue stitching down around the base of the zip, back up the side until you get near the slider again. With the foot up slide the slider back down and continue stitching.
Start at the top left. Go down and around and back up the other side. If you need 2 rows start
again from the top left. Watch out for the flap as you go around the bottom. Don’t want to stitch it on both
sides.
Where is the slider during all this?
While gluing? While stitching? Esp when going around the bottom
How to hold boot as we go to ensure lining is caught