Yes sure we can build your shoes up for you, do you have any shoes that you've had built up that worked out really well? Lets copy what worked.
You will need to provide us the measurements mm Heel Sole Toe
Getting the measurements from an existing pair. Measure both shoes Heel, Sole, Toe and then take the small numbers away from the big numbers. This will be the amount of the build needed.
Drop off
You will need to provide us the measurements mm Heel Sole Toe
Getting the measurements from an existing pair. Measure both shoes Heel, Sole, Toe and then take the small numbers away from the big numbers. This will be the amount of the build needed.
Drop off
- Add HST measurements to Invoice header, copy to both panels
- Click the day of the week before the currently displayed ready day. This will then display a day about a week away.
Main Steps
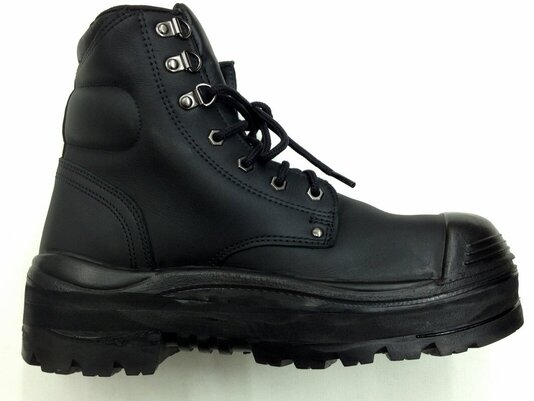
- Decide, inside or outside build
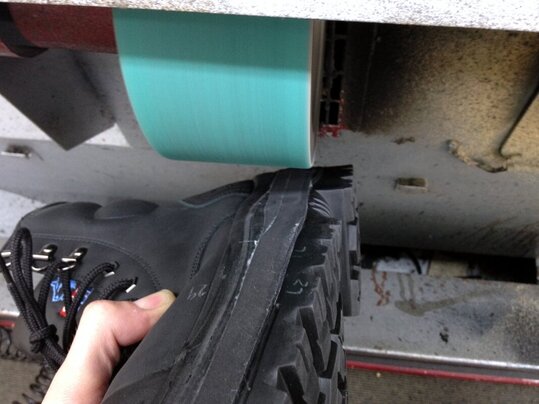
- Cut open or Grind off tread
- Do the maths
- Glue eva layer and trim, repeat
- Test walk
- Glue tread on
- Trim
- Polish
Main steps explained
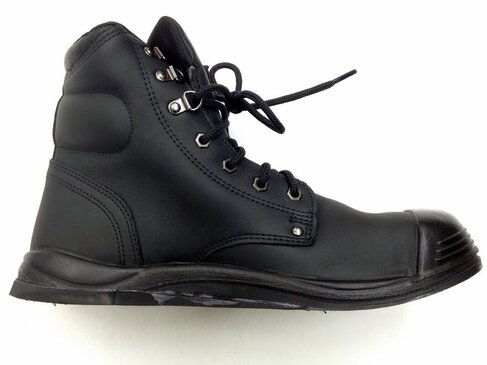
1. Decide, inside or outside build
|
Cut and insert build, or Glue onto bottom of sole?Have a think about each method and then pick one.
The good thing about inserting is you get to keep the same sole pattern, but it can only be done if the sole is thick enough to cut or if you can remove the bottom layer. Gluing onto the existing can be easier. |
|
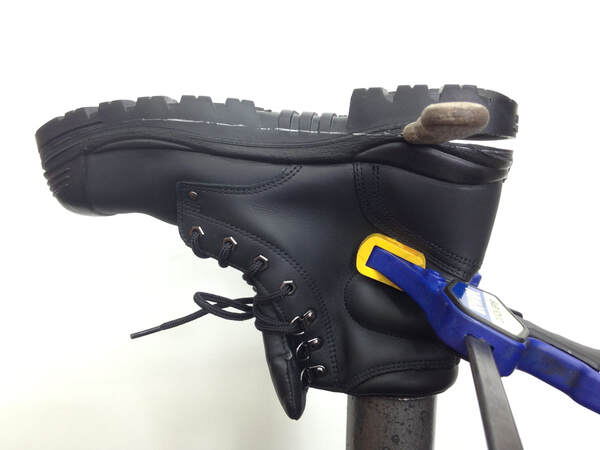
2. Cut open or Grind off tread
|
|
3. The maths

|
| ||
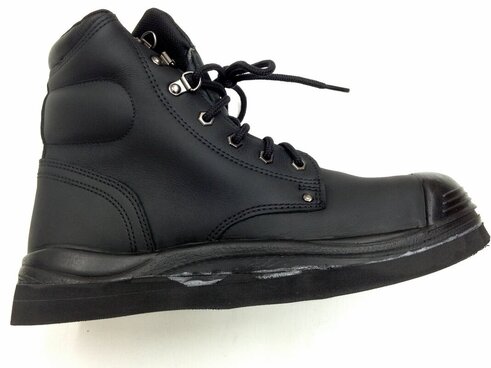
4. Glue eva layer and trim, repeat
|
|
Before tapering. Trim the first layer closely with knife then heel trimmer or mini band.
5. Test walk
Test it out on a flat hard surface to see if it rolls nicely. If it feels stepped or donky it needs smoothing off. Also check that it doesnt roll to one side.
6. Glue tread on
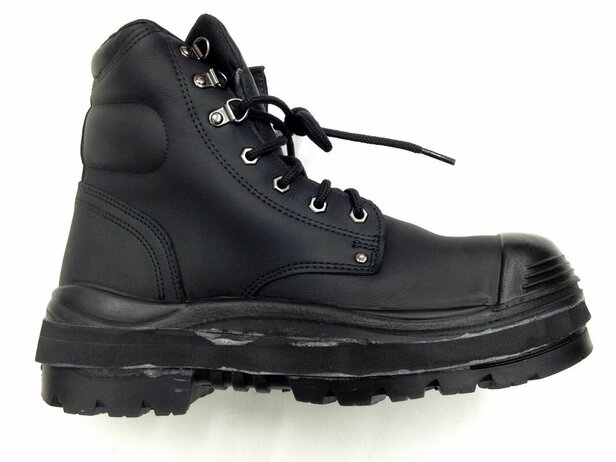
Mark out with silver pen before you heat up.
7. Trim
Grind top and bottom join then take off the middle.
8. Polish
|
|
Coat of paint on edges might help keep the diesel away.