Sock lasted resole
Main Steps
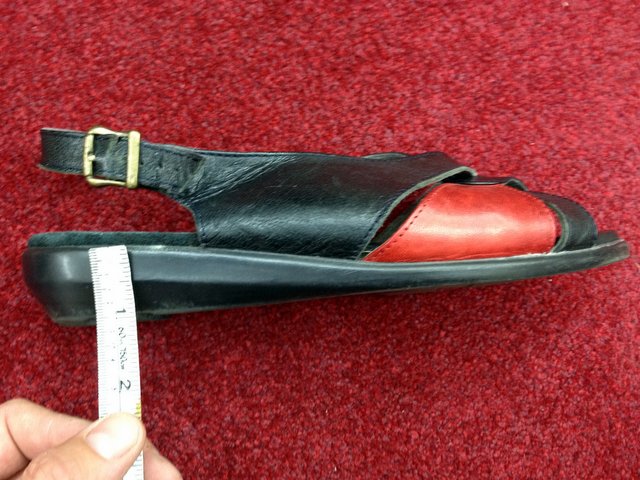
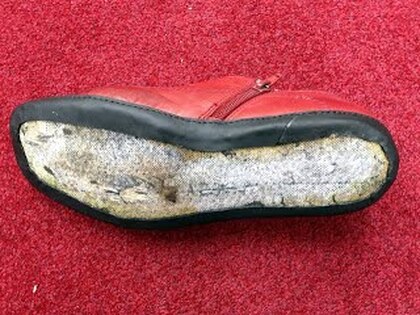
- Measure heights
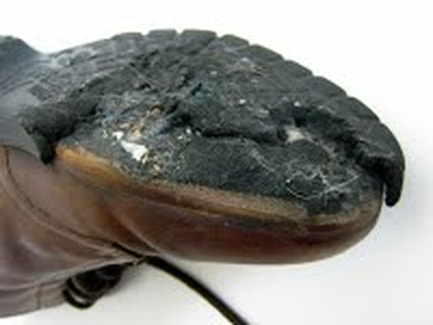
- Remove old
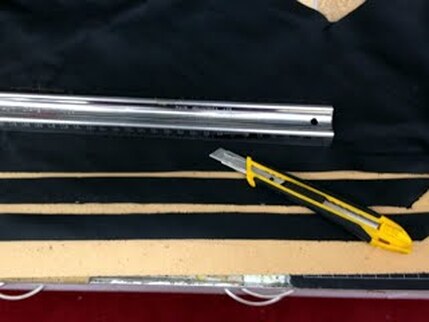
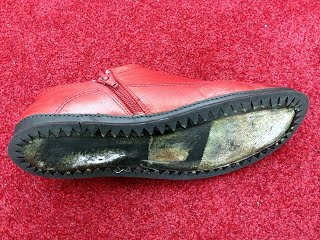
- Cut 2 leather edging strips 20-40mm wide
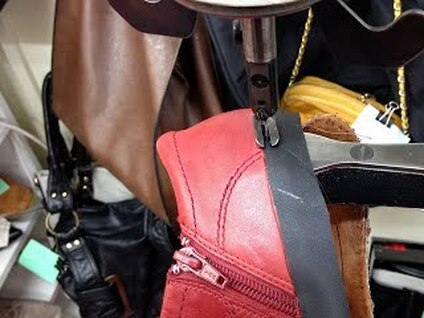
- Stitch leather strips around shoe
- Glue and fold leather over
- Run edging around
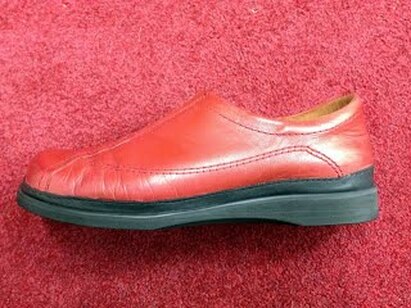
- Glue EVA Midsole Layers to correct height
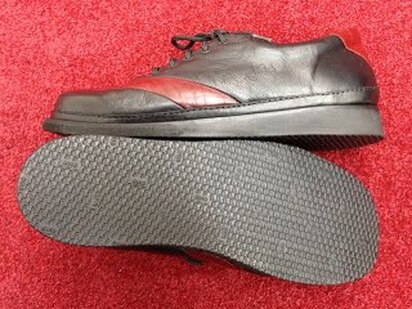
- Glue Sole on and Trim
- Polish